Make a six-panel paper comic
Original practical procedure
What you need A pencil and one ordinary sheet, or a screen, six spoken numbered sections, or an adult who draws boxes at your direction. No cutting or folding is needed.
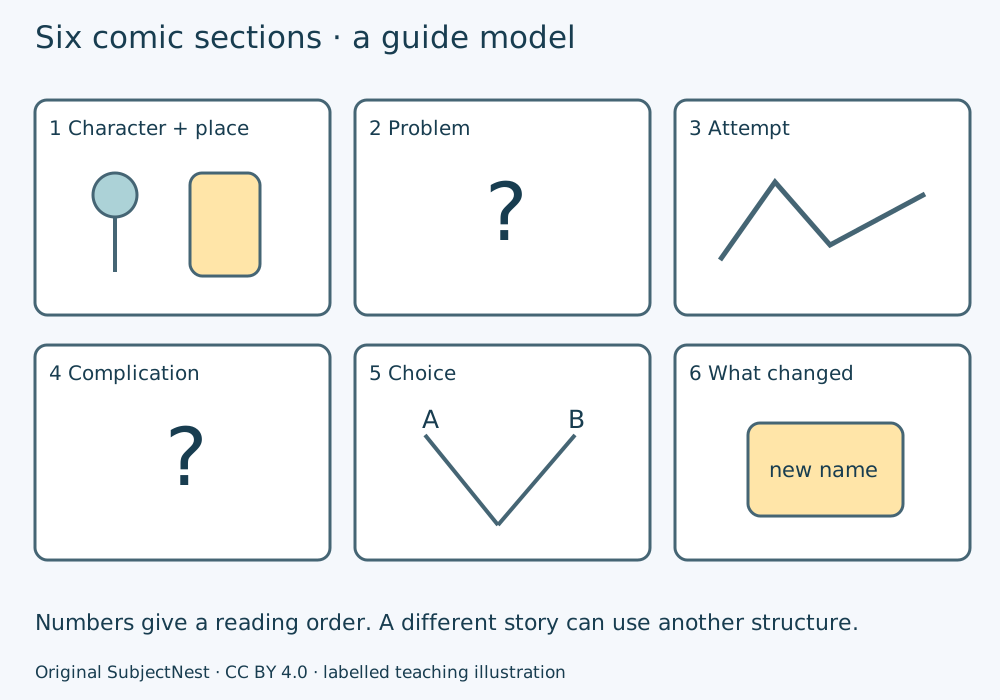
Set up Draw two rows of three boxes. Number the top row 1, 2, 3 from left to right, then the bottom row 4, 5, 6. With a non-image version, label six separate sections with the same numbers.
Tell it First, put the character and place in box 1. Next, introduce a problem in box 2. Use boxes 3 and 4 for an attempt and a complication. In box 5, show a choice. Finally, let box 6 show what changed.
Try it Ask a willing reader to follow the numbers, or follow them yourself. If a link between events is unclear, add or change a word or picture. Keep a copy of the first version if you want to compare. A different story can use a different structure; this is one useful starter, not a rule for every comic.
Grown-up help
An original feasible paper/text-making task. It is not a claim that every reader can use the visual version or a test of folding, drawing speed or motor skill.
These are shared texts, not controlled decodables. Use a separately matched school-selected passage for independent reading. All example people and clubs are invented except the explicitly cited general weather facts.
Open actual SVG: Six comic sections · Full text and non-image alternatives