Print at actual A4 size, or read the exact text and tactile version. Thick card frames and large shapes can be cut by an adult; keep loose pieces age-safe and follow local access guidance. A child can direct an adult without touching or drawing. Number the frames for left-to-right reading, but accept spoken, signed, pointed or AAC responses. Never require colour discrimination or fluent print reading.
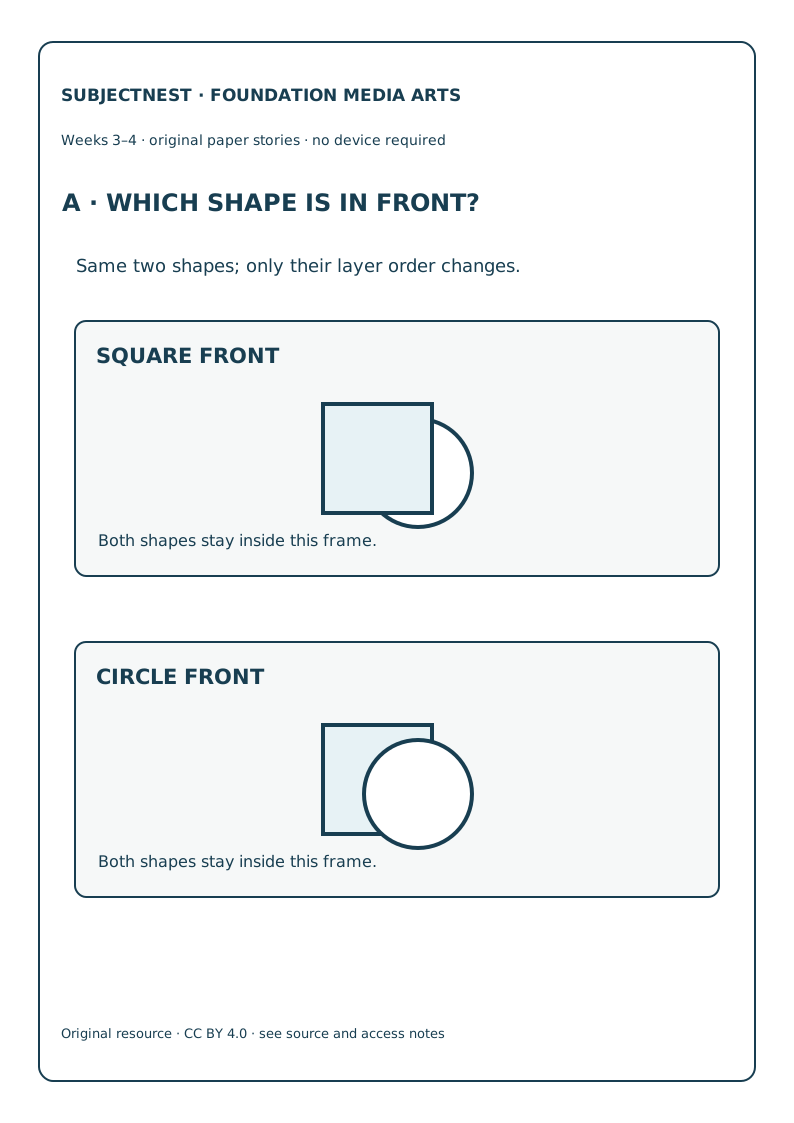
A · Layer order
SVG · PDF. Two same-shape-pair panels: SQUARE FRONT and CIRCLE FRONT. Both contain exactly one square and one circle. Use on Day 11; broad paper pieces can physically overlap, but never require touch.
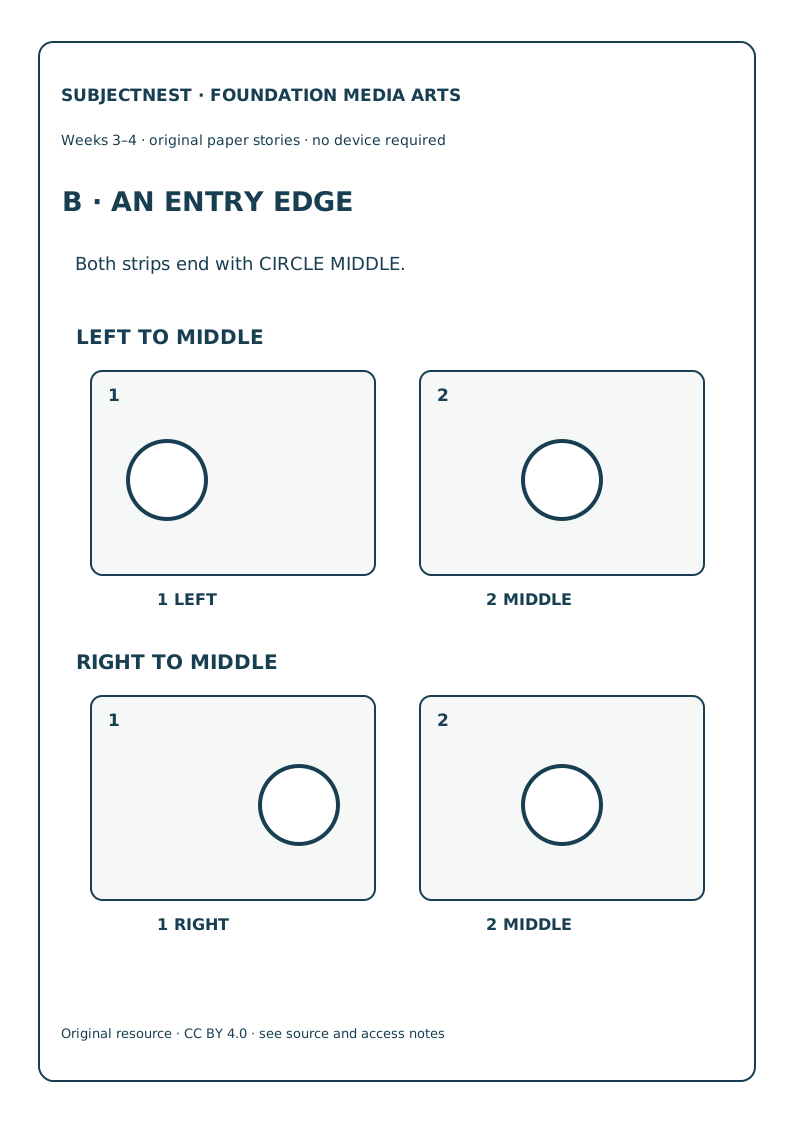
B · Entry edge
SVG · PDF. LEFT→MIDDLE and RIGHT→MIDDLE two-frame strips, with the held middle endpoint named. Day 12 uses image entry; Day 17 holds one strip and adds a separate TAP cue plan.
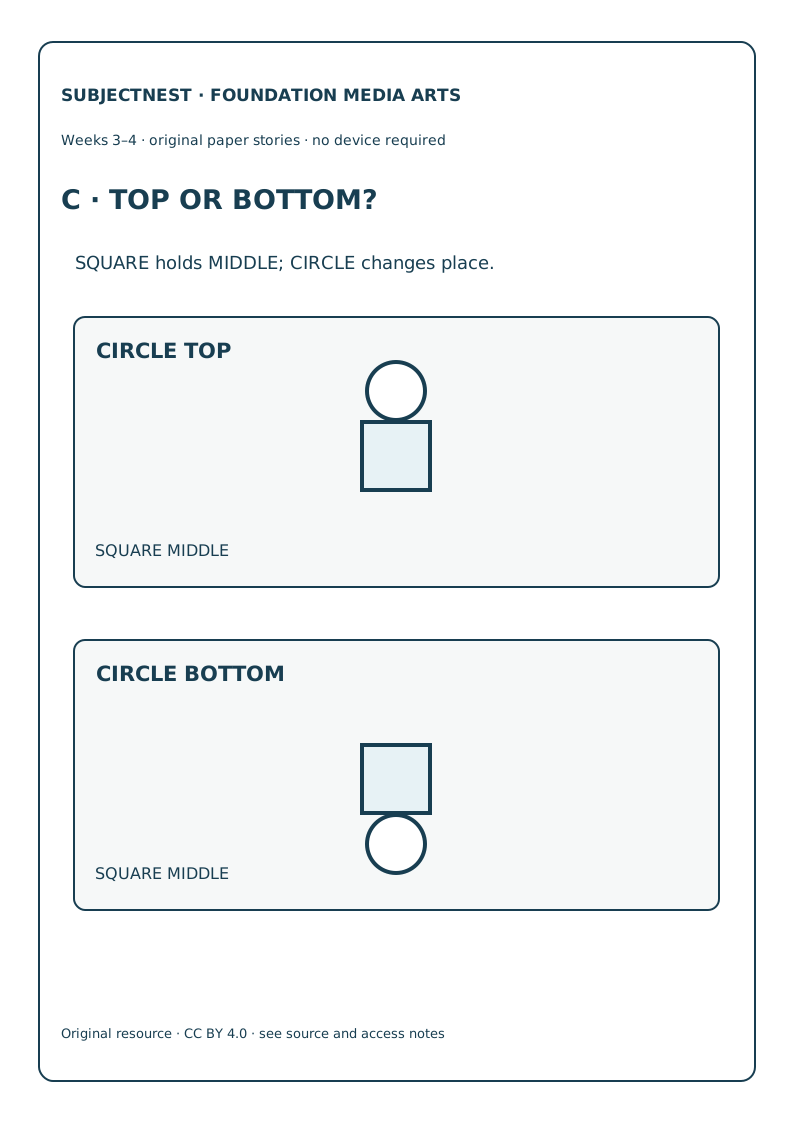
C · Position field
SVG · PDF. The square remains MIDDLE; the circle is TOP in one panel and BOTTOM in another. Day 13 uses it to compare placement without prescribed emotion.
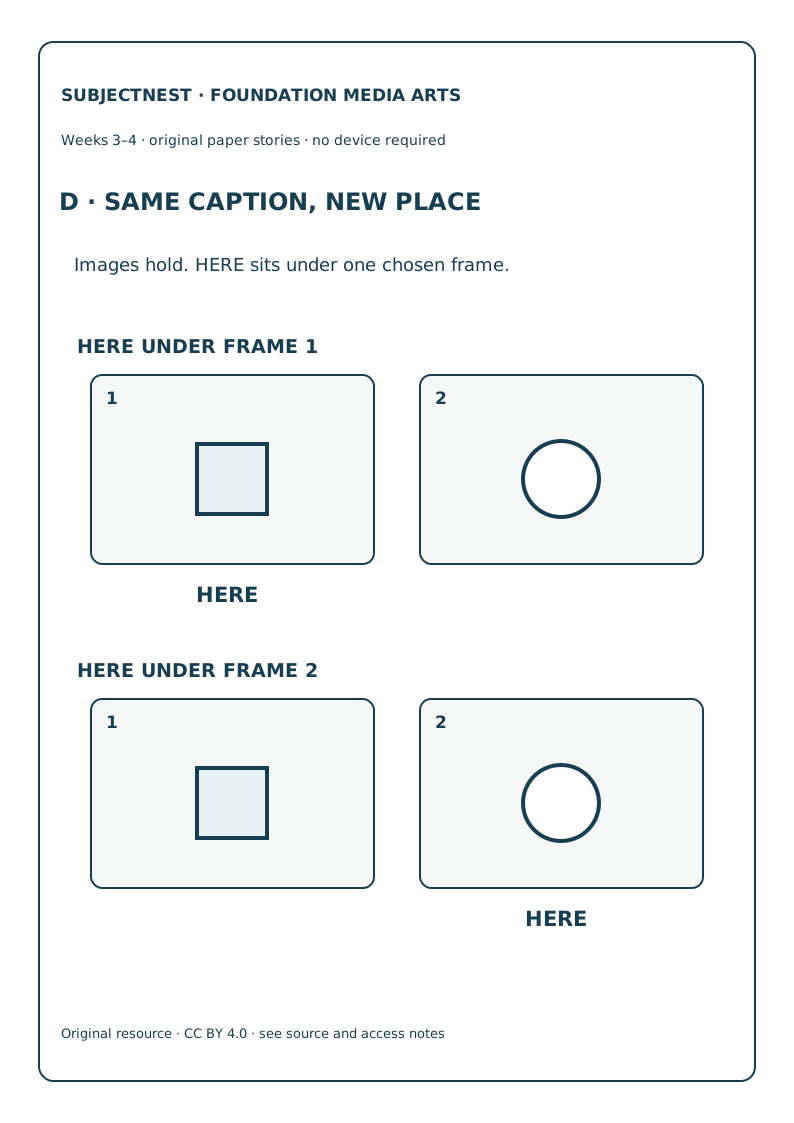
D · Caption place
SVG · PDF. Same numbered SQUARE then CIRCLE frames in both rows; HERE attaches under frame 1 or 2. Day 14 uses one movable word/pointer card.
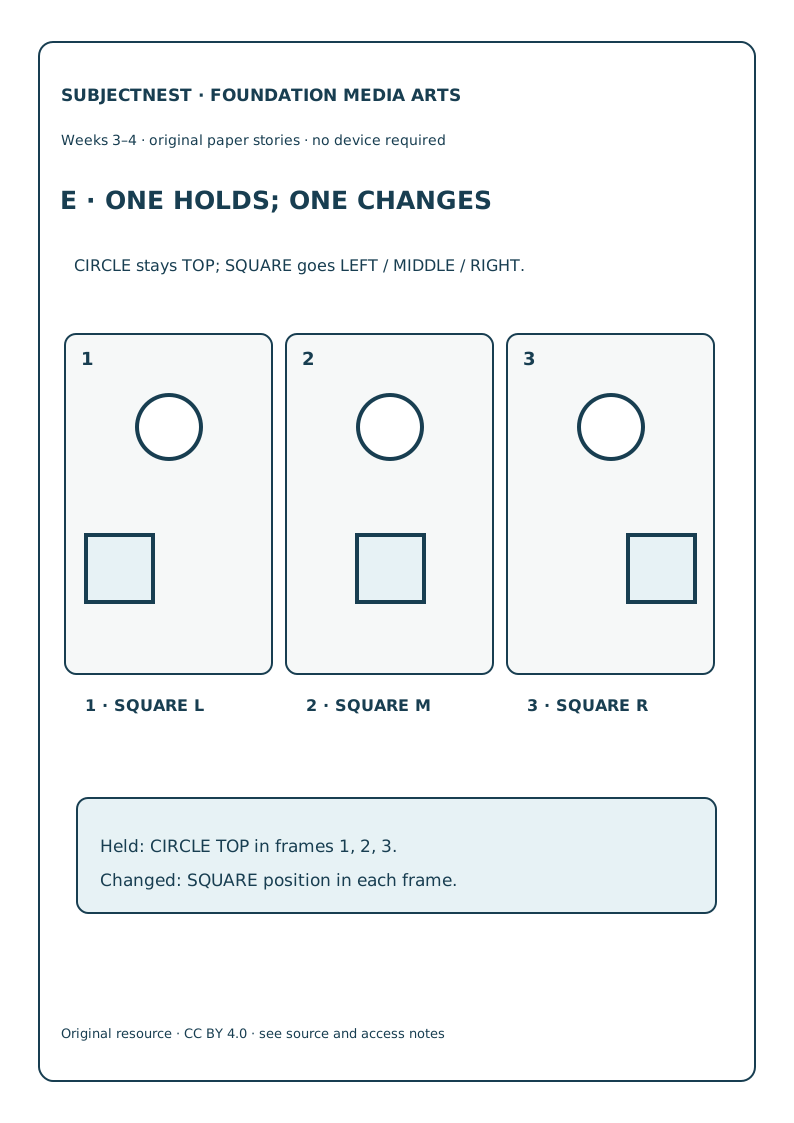
E · Held and moving
SVG · PDF. Three frames, CIRCLE TOP throughout; SQUARE lower LEFT/MIDDLE/RIGHT. Day 16 asks children to distinguish the held from changing track.
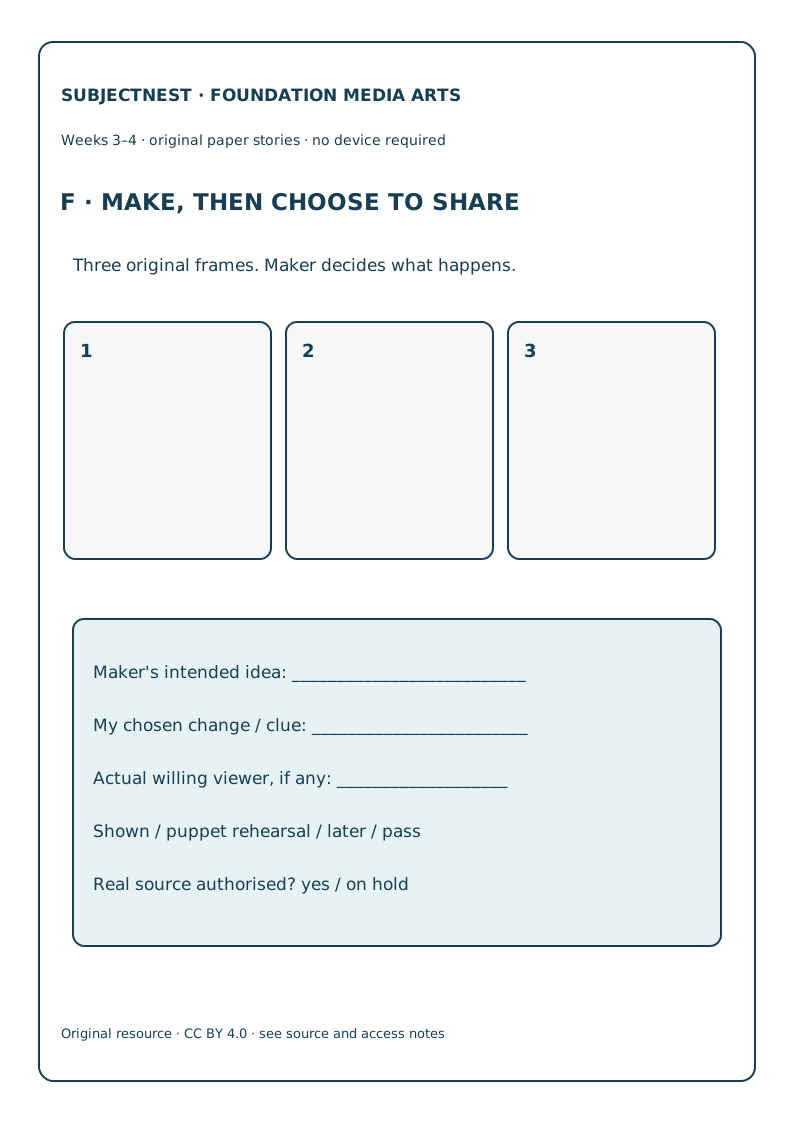
F · Maker and share log
SVG · PDF. Three blank numbered frames, maker intention, chosen technique, actual willing person/rehearsal/pass, and authentic-source hold. Day 18 creation and Day 19 choice; do not complete audience fields based on plans alone.
Keep fresh G/H check sheets out of routine modelling. Use worked practice swaps only after the first response on a check day. Store all paper according to local policy; no photograph is required.