Print A4 at actual size, or read/build the exact text/tactile route. Use broad adult-prepared flaps or large removable cards, safe blunt edges and local supervision. No child has to cut, stick, fold, see colour, read signs independently or touch materials. A neutral adult can operate the board on the child’s instruction. Put pieces away under local age-safety practice.
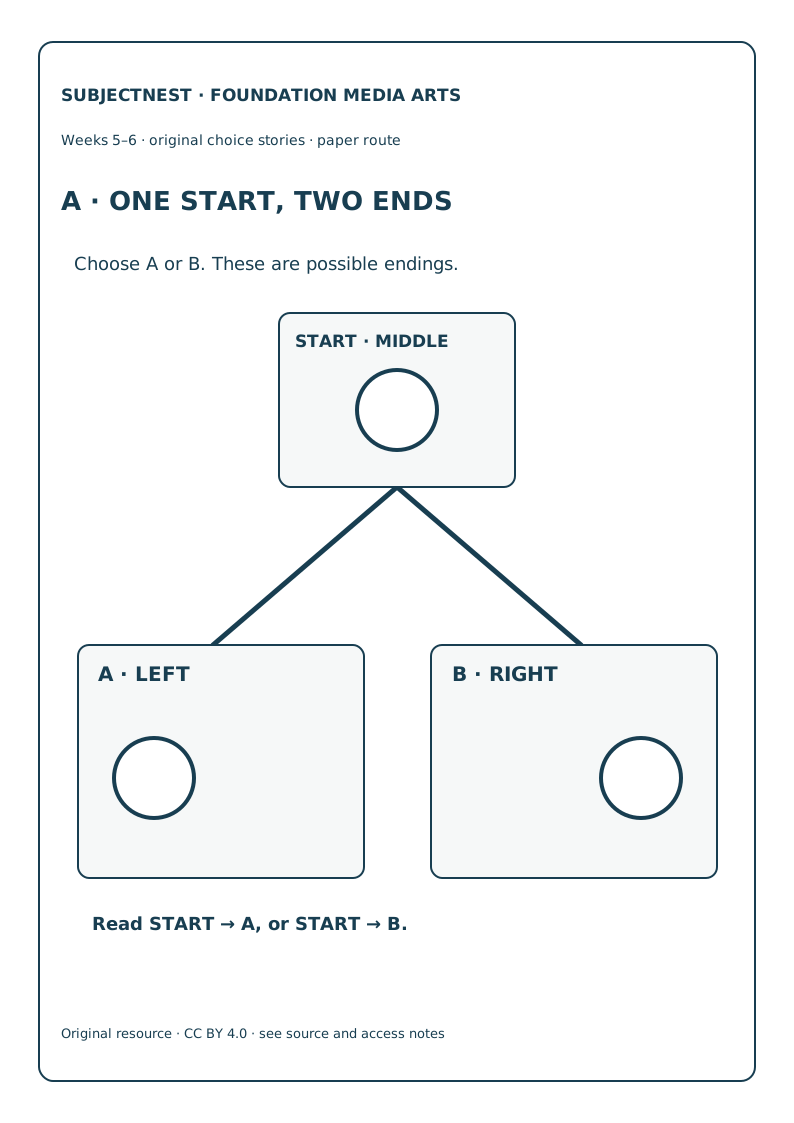
A · Two-path branch map
SVG · PDF. One START: CIRCLE MIDDLE. Two separately labelled possible endings: A CIRCLE LEFT, B CIRCLE RIGHT. Use to distinguish a fork from a three-step line on Day 21.
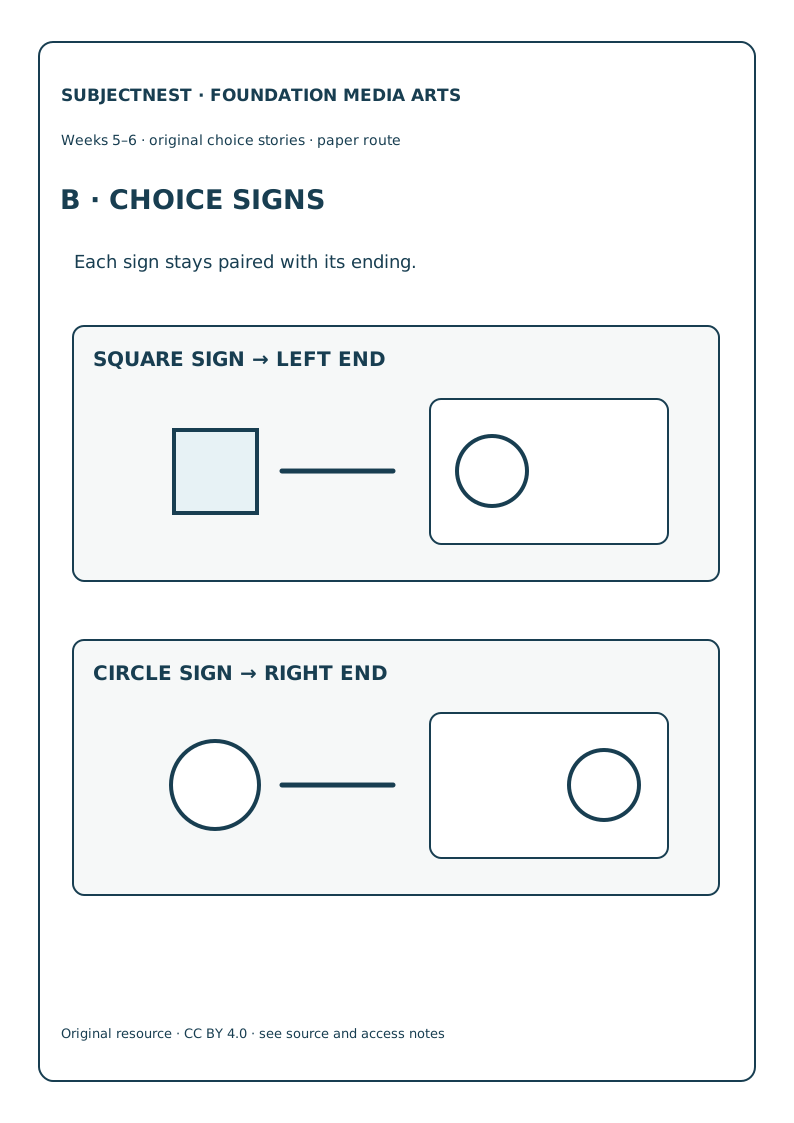
B · Choice signs
SVG · PDF. SQUARE sign pairs with LEFT ending; CIRCLE sign pairs with RIGHT ending. The signs may be replaced with other distinct large symbols or textures. Use Days 22 and 28.
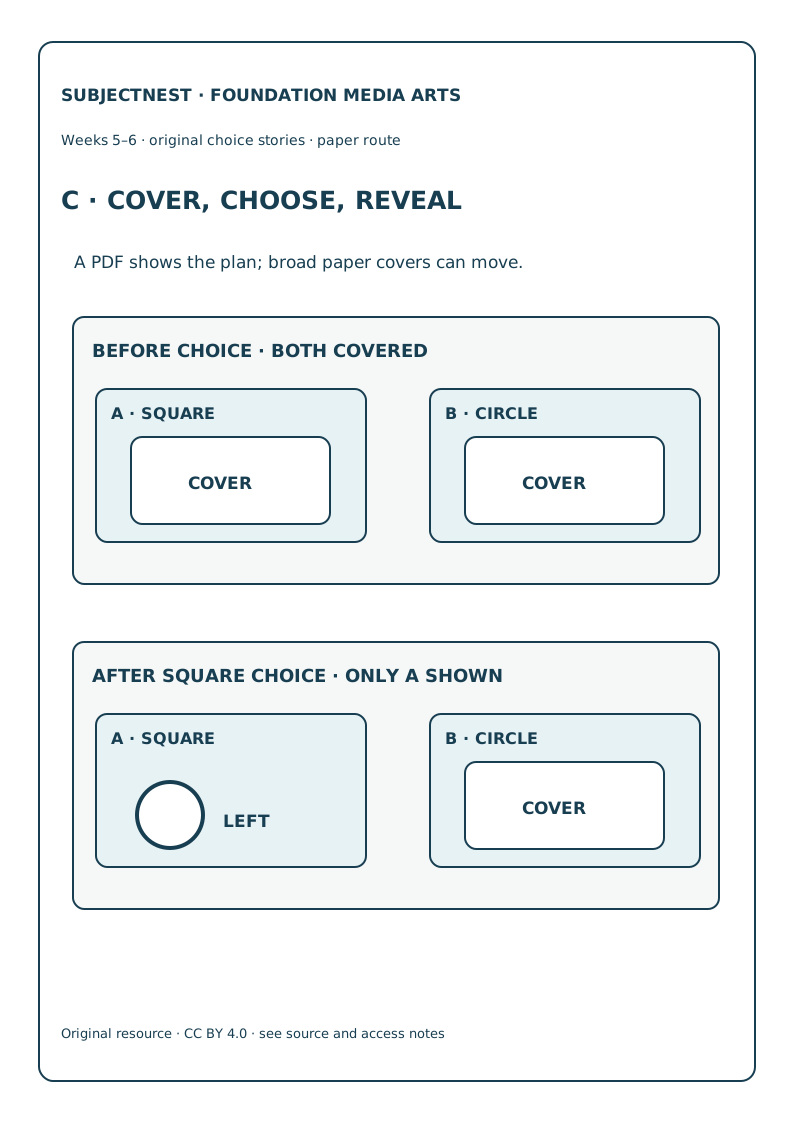
C · Reveal board
SVG · PDF. Static instructional views of both ENDINGS COVERED and one selected ending revealed. A real paper board needs broad teacher-prepared covers or separate cards; the PDF alone cannot be operated. Use Days 23–24.
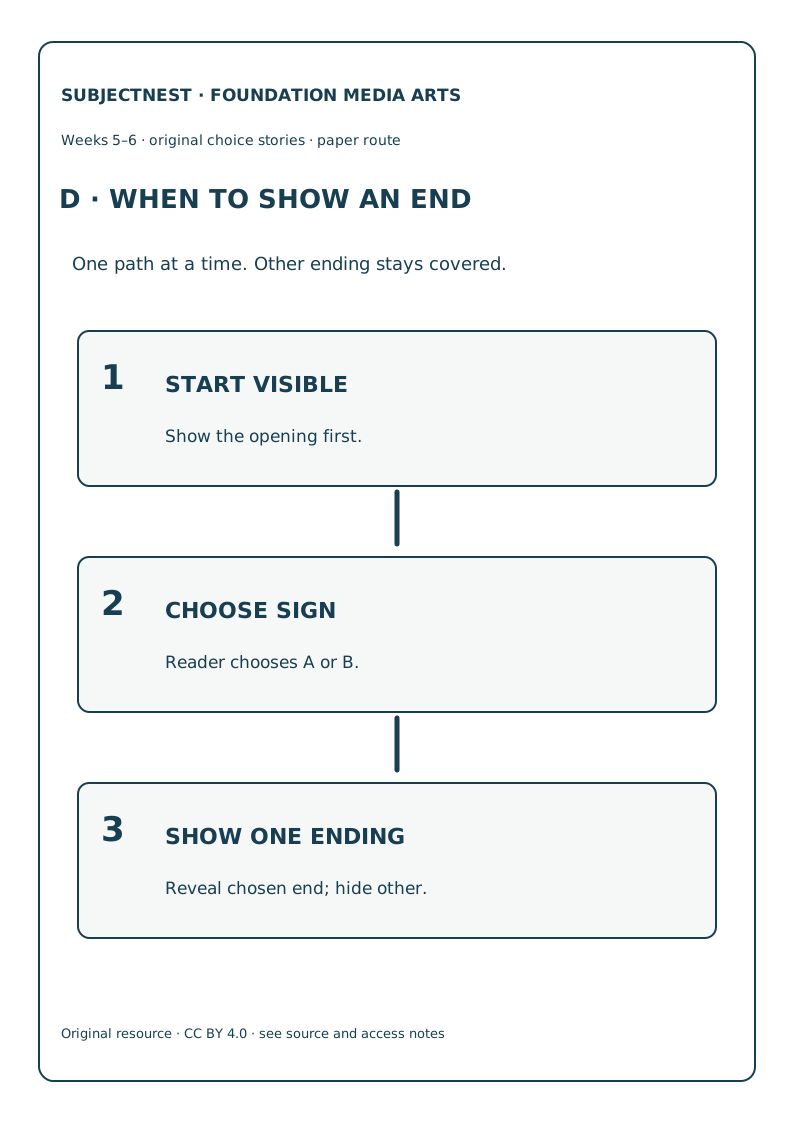
D · Reveal order
SVG · PDF. Three large stages: START VISIBLE → CHOOSE SIGN → SHOW ONE ENDING. Keep the other ending covered; no required sound or dramatic effect.
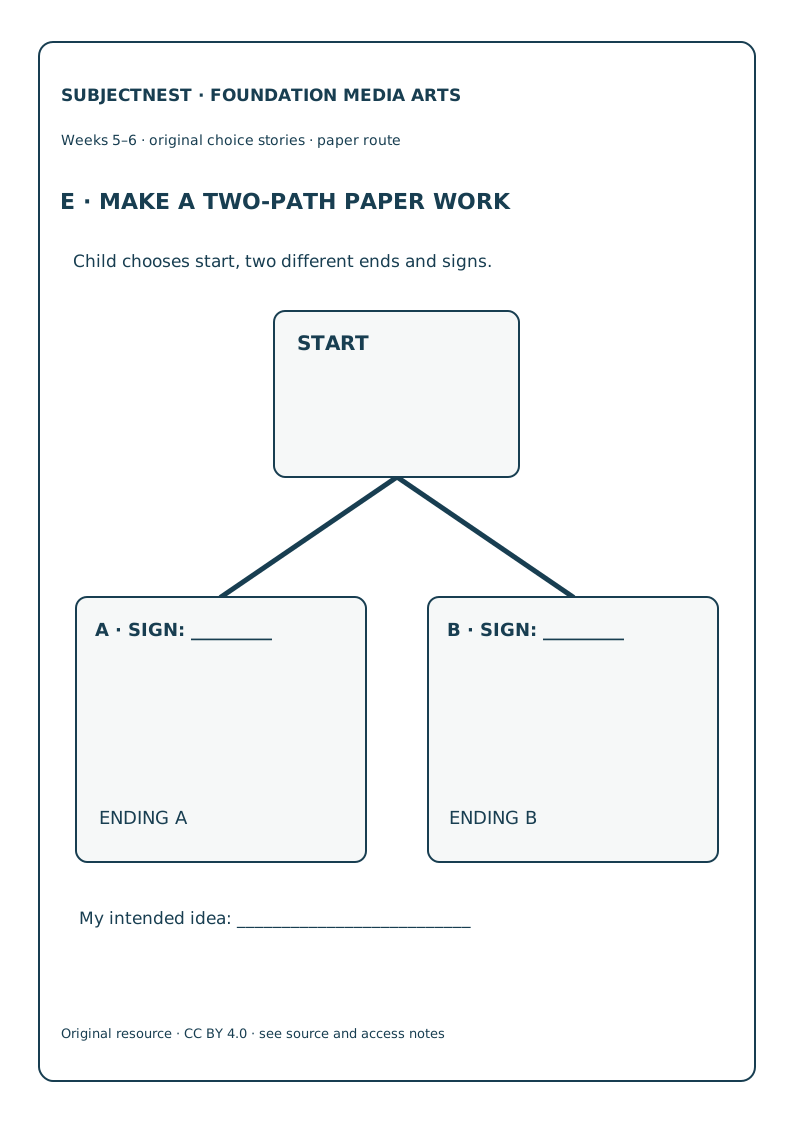
E · Maker board
SVG · PDF. Blank start, two distinct ending slots, choice-sign fields and “my intended idea.” Day 26 assembly: child chooses/draws/directs content and mapping; adult may prepare broad flaps or large removable cards without owning the creative decisions.
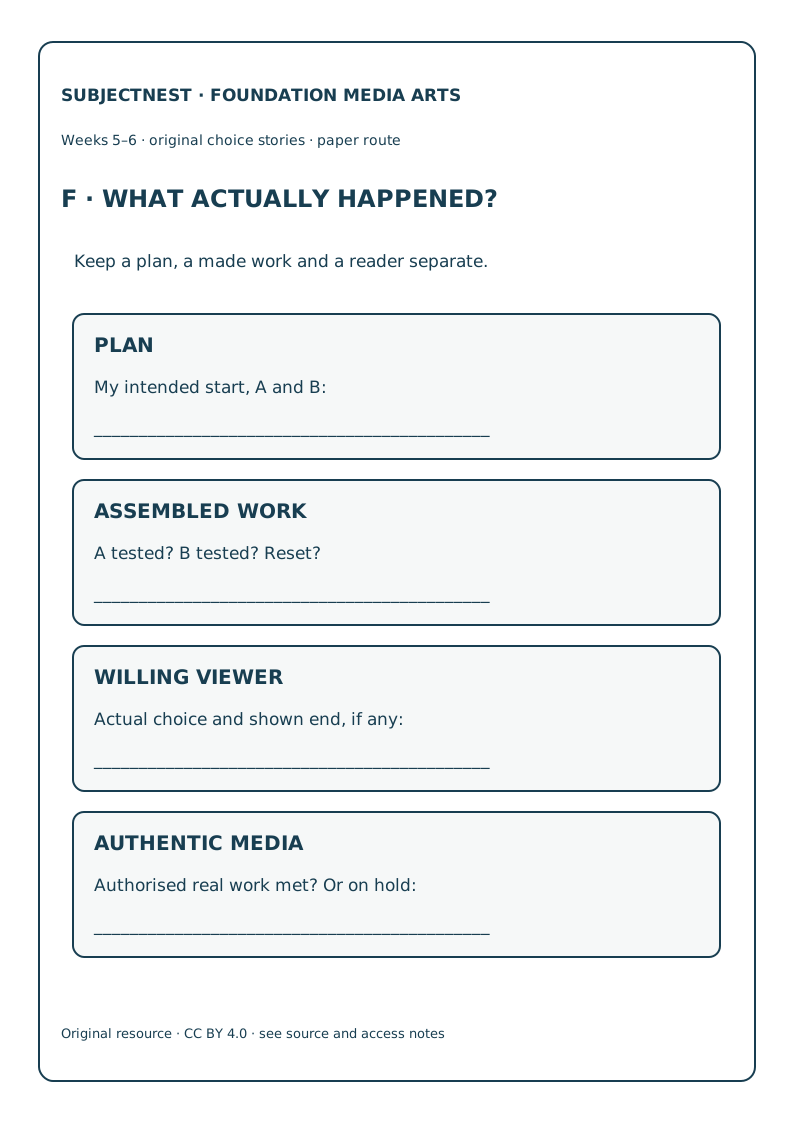
F · Test and share log
SVG · PDF. Separate rows for plan, assembled route test, actual willing viewer and authentic-source encounter. Do not fill one from another. Use Days 27–29.
Keep new checks I/J out of routine modelling; do not put solved outcomes on their public sheets. Day 25/30 worked swaps are After Check only. The physically assembled branch is an original small paper media work when the child makes/directs its content and selection rule; an unassembled map remains a plan. Neither proves camera, audio or digital production.
Five-step flat-card build for a new educator
- Print E and supply adult-prepared, broad blank cards: one START, two ENDING cards, two distinguishable SIGN cards and two opaque COVER cards. A full-size folded sheet can serve as each cover; avoid small loose parts.
- Ask the child to draw, choose or direct an original START and two different ENDINGS. Put them in the labelled slots. Write down which decisions were the child’s and any adult-made features.
- Let the child choose and attach/direct one SIGN to each ending. Put the two covers over the endings but leave START and both signs visible. No tape or hinge is required; a card that can be lifted and reset is enough.
- To operate: a reader chooses one sign; child or neutral adult uncovers only its matched ending; the other stays hidden. Close/reset both before trying the second route. Do not silently correct a mapping during a test.
- Record a private maker test separately from any actual willing-person use on F. If parts cannot be safely lifted or the two routes cannot be distinguished, mark the work as planned/unfinished and adapt the materials before claiming an operable paper work.